Want to know, how to install WordPress on WampServer? WordPress is an open framework for developing amazing and interactive websites.
Anyone with or without the knowledge of programming namely PHP in this particular case can develop a professional looking website.
However, it will definitely be an added advantage if you know a bit of PHP programming so that you can make direct changes to the code and customize your website to make it exactly as per your specifications.
Today we are going to see how to install wordpress on your computer (localhost).
In this tutorial we will be using Windows 10 32-bit as the operating system. There is a prerequisite before you start with wordpress installation.
You need to have a WampServer installed on your computer. For downloading and installing WampServer on your computer please visit their website.
Also, if you want to take your WordPress live your require a website.
Table of Contents
What Is WampServer?
WampServer is a web development platform, which is installed on Windows Operating System.
The server allows you to create dynamic web applications with PHP as the main language and MySQL as the database along with Apache2 and MariaDB.
In simpler words, it gives you an environment with default settings which you need to develop web applications.
It’s available for free (under GPML license) in both 32 and 64 bit versions.
For this tutorial, I am going to install WampServer on Windows 10 (32-bit) operating system.
If you want to take your wordpress website from WampServer to the World Wide Web, you need but a hosting & start a blog.
Why Should You Install WordPress On WampServer
WampServer creates a hosting environment for installing WordPress locally on your Windows Operating System.
When you are creating a new website in WordPress, you need to do a lot of changes before you take it live.
And for that, you might be required to try out various permutations & combinations.
If you are a newbie, then you should install WordPress on WampServer first & learn everything about it properly.
But, if you are a pro & are interested in developing your own plugins or themes, this is the right environment for development.
How To Install WampServer On Windows
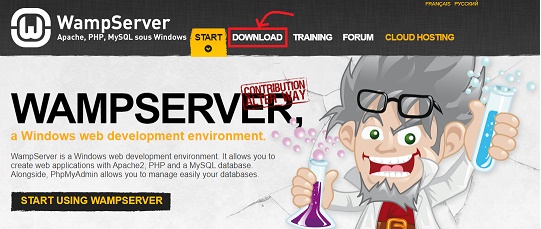
1). Go to the WampServer website and click the DOWNLOAD tab. After you click on the tab, the page will scroll down.
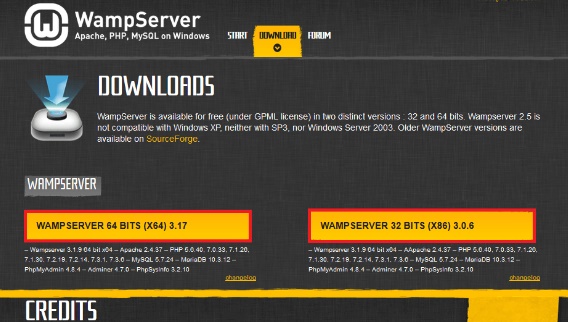
2). Check whether your windows operating system is 32-bit or 64-bit and accordingly download the Set Up for WampServer and save it on your computer.
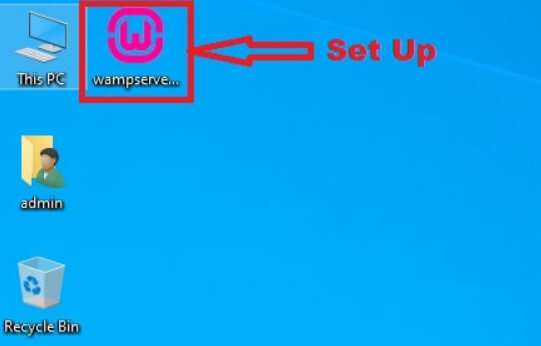
3). You can download the Set Up anywhere on the computer, but, I would recommend that you download it on the desktop, so that it is easy to find. You can change the download path and set it to desktop in the settings from your browser settings.
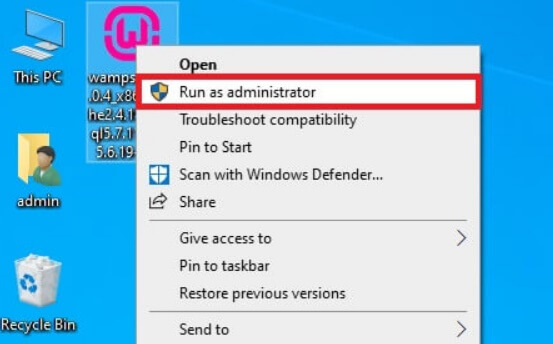
4). To open the set up, double click on it or right click on the set up and then click on the Run As Administrator option. By selecting the “Run As Administrator” option you will get all the admin rights for installation.
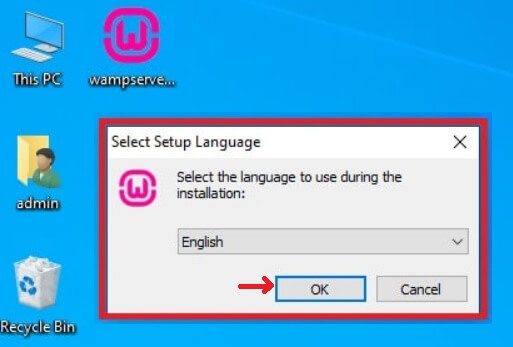
5). Select your Set Up Language and click on OK. By default it is English.
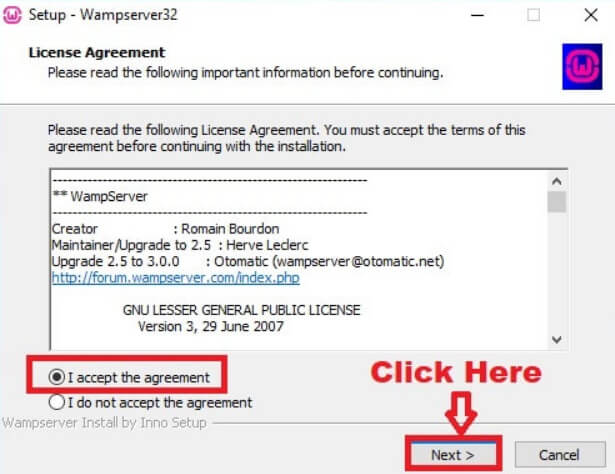
6). Select “I accept the agreement” and click Next.
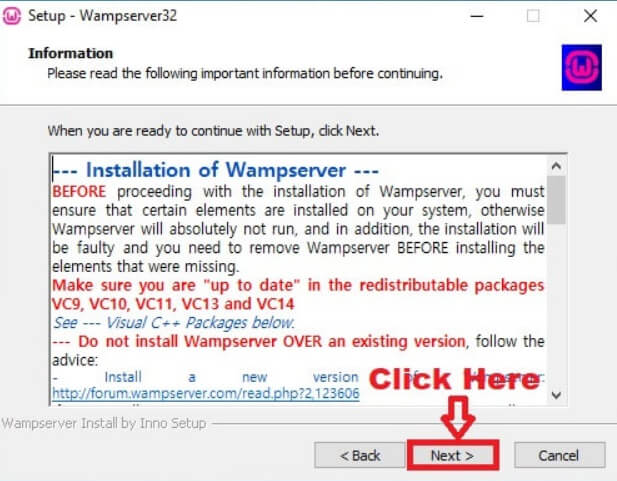
7). On the next screen, check for the pre-requisites that are mentioned in the box & if all the pre-requisites are successfully applied then click on Next.
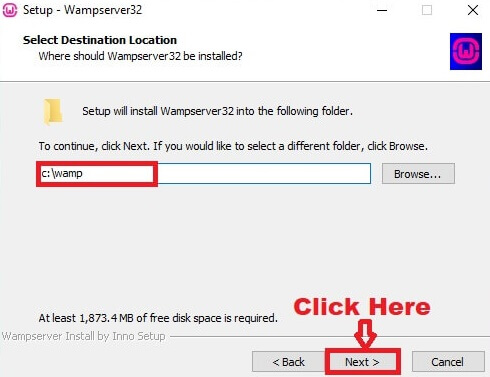
8). From the below screen select the path you want for the WampServer to install by clicking the Browse button. I would recommend that you keep the default path i.e. c:\wamp as it is and click on Next.
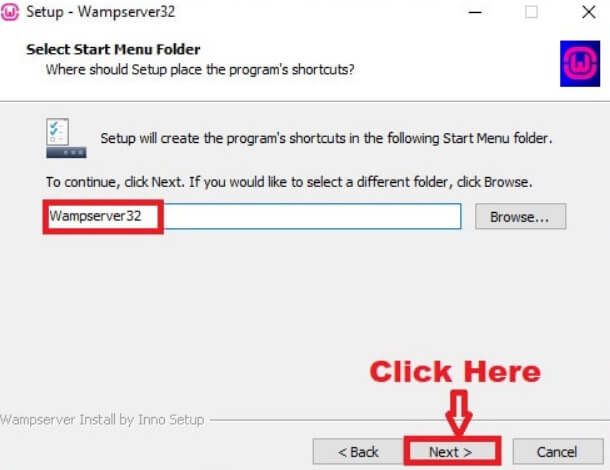
9). On the next screen Setup will create shortcuts in the following Start Menu folder. Keep the default values and click Next.
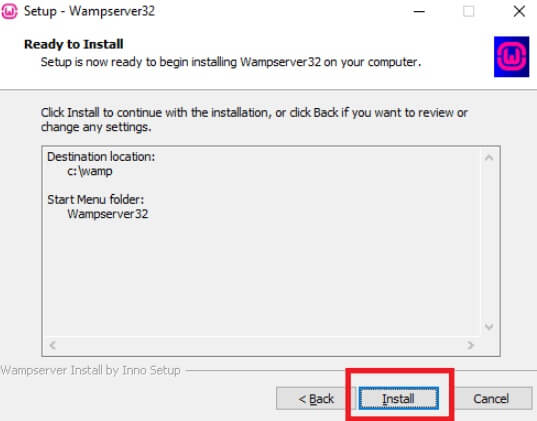
10). Again, on the next screen just click on Install.
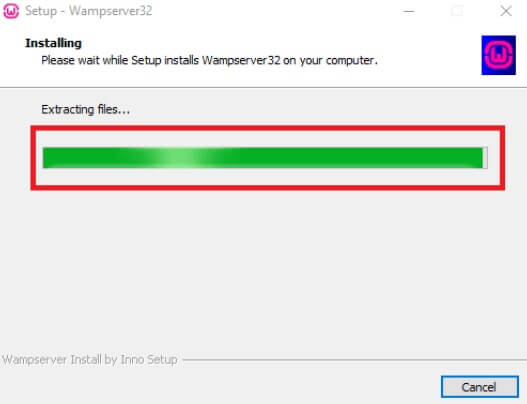
11). The installation will take around 5-10 minutes depending on the speed of your computer. Have patience and let the installation complete.
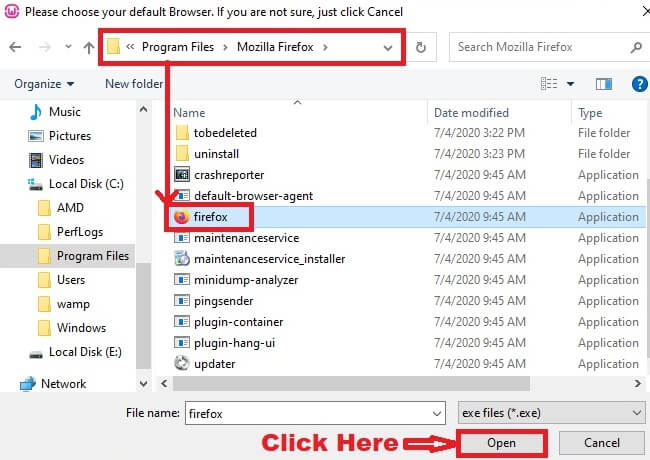
12). On the next screen select the default browser you want to use with WampServer. I would recommend Mozilla Firefox over any other browser.
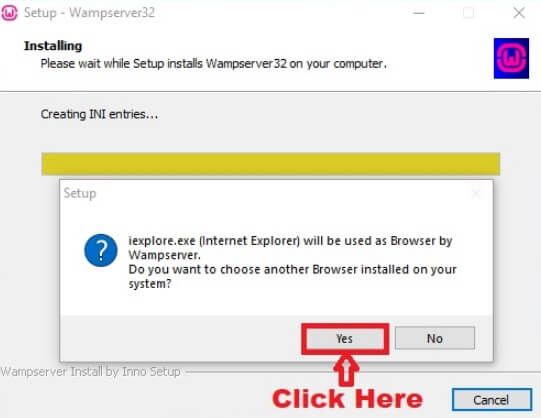
13). Now, click on Open.
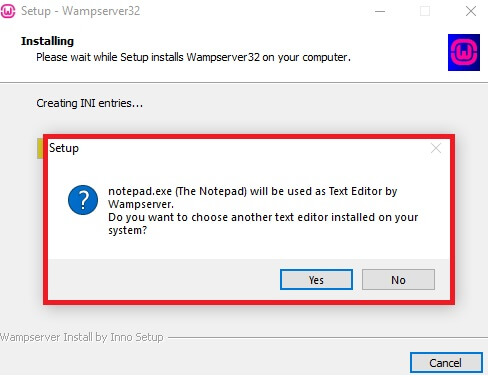
14). The next screen will give you an option to select an editor, by default it is notepad. Keep the default values as it is and click on No.
15). Again on the next screen keep the default values and click on Open.

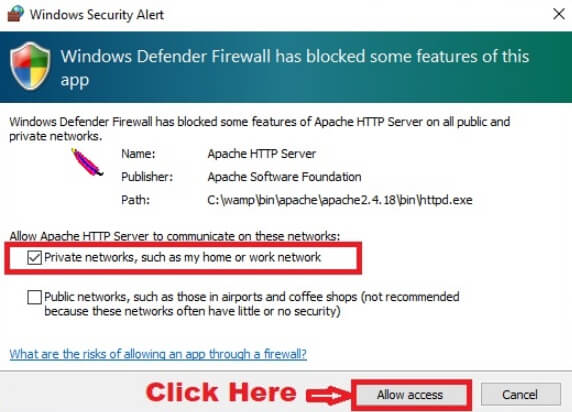
16). On the next screen choose if you want to keep the access Private of Public by selecting the check boxes on the next screen. I would recommend that you Uncheck the Public Networks check box and Check the Private Network Check Box and click on Allow Access.
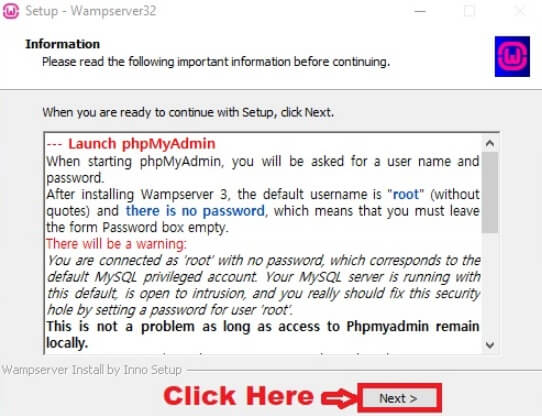
17). Now, you are almost there. The installation is in the final stage now. Click on Next.
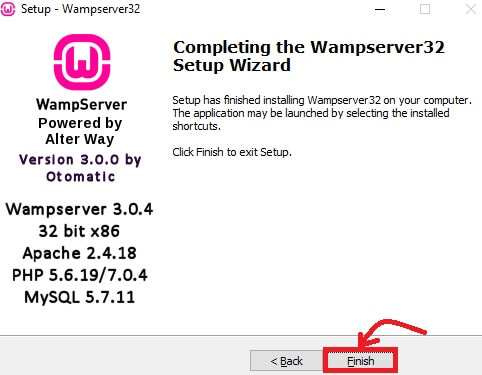
18). On the below screen click on Finish. The step will finish installing WampServer on your computer (localhost).
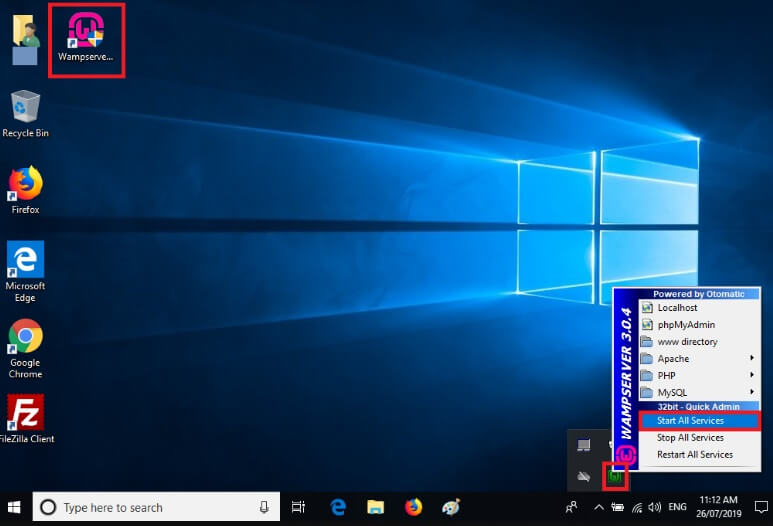
19). After the installation is complete, double click on the WampServer icon on the desktop to start it and then click on Start All Services from the icon on the task bar. After all the services start the icon on the task bar will turn green. Also, you will find a folder named wamp being created in the C drive of your computer. Projects are stored at C:\wamp\www which is the root directory.
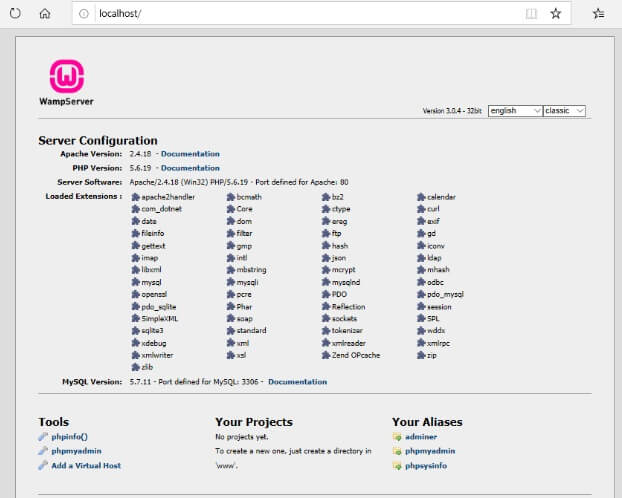
20). Finally to check whether everything is in place and the installation is successful, open Mozilla Firefox, type localhost in the address bar and hit enter. If you get the screen below the you are all set and ready to go.
You are all set & done installing WampServer on you Windows OS.
How To Install WordPress On WampServer
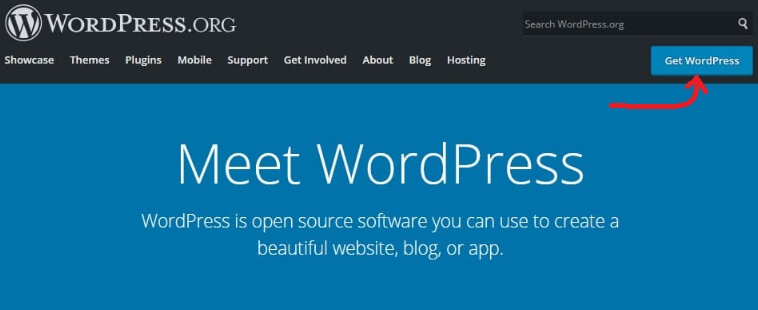
1). Go to the WordPress Website and click on the Get WordPress button or to go to the download page directly click here.
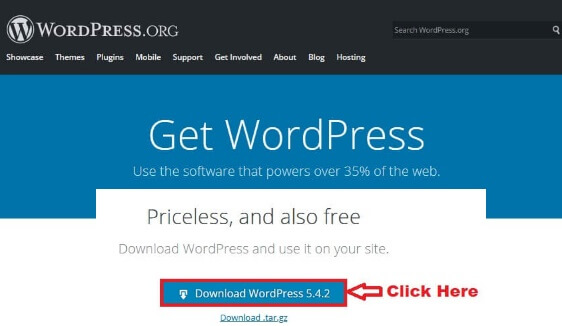
2). After you are on the download page you will find the Download WordPress button highlighted in red. Click on that button to download the latest version of WordPress.
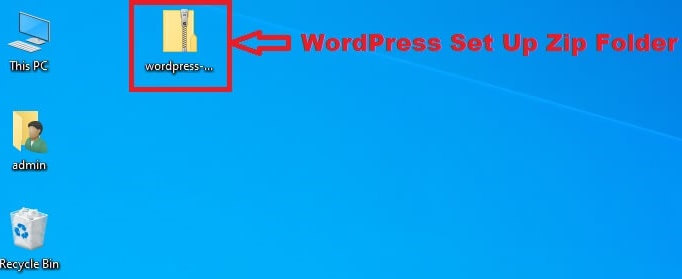
3). You will get a prompt which will ask you start the download as shown in the below screen. Just click on the OK button and WordPress will be downloaded to your computer at the default location, you have set for downloads on your computer. My default location is desktop and I would suggest that you set your default download location to desktop in your browser so that you can find the downloads easily. Below screen showing downloaded WordPress file saved on the desktop.
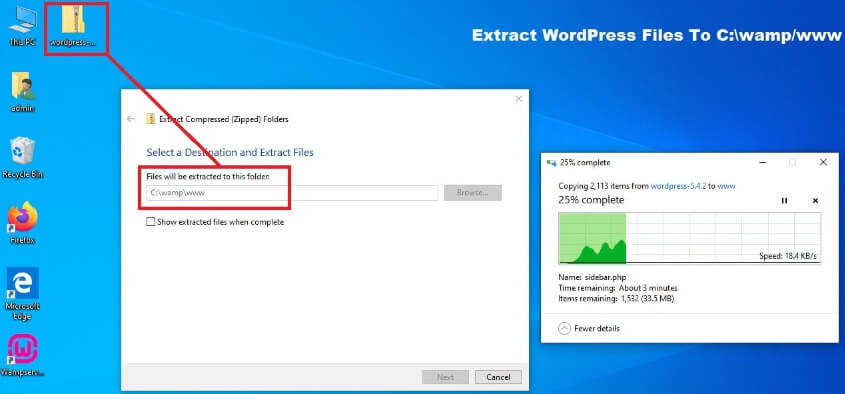
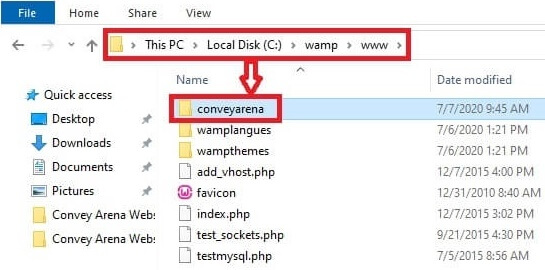
4). Extract the WordPress folder to the C:\wamp\www i.e. the root directory for WampServer.
5).
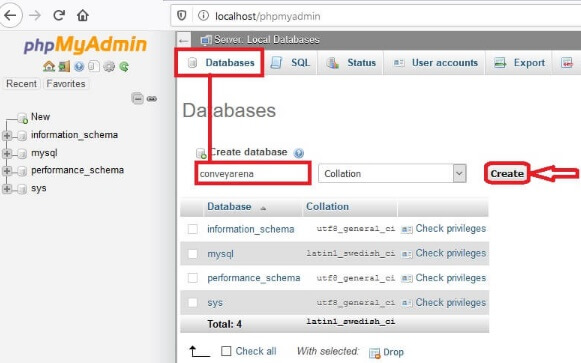
6). Now go to the browser (preferably Firefox) and type localhost/phpmyadmin in the address bar and hit enter to open the database server page. Fill in the username as root and leave the password field blank. Click on Go. After going to the next page you will find the below screen. Create a database with a name you want.
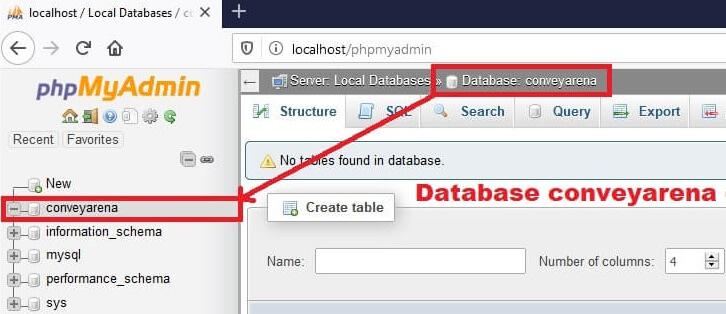
7). The database will get created.
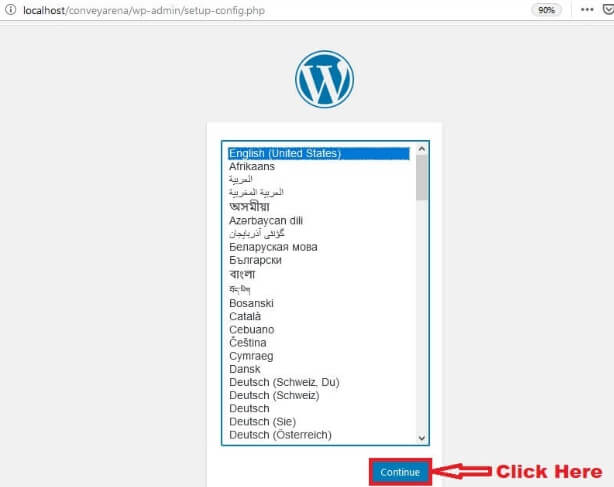
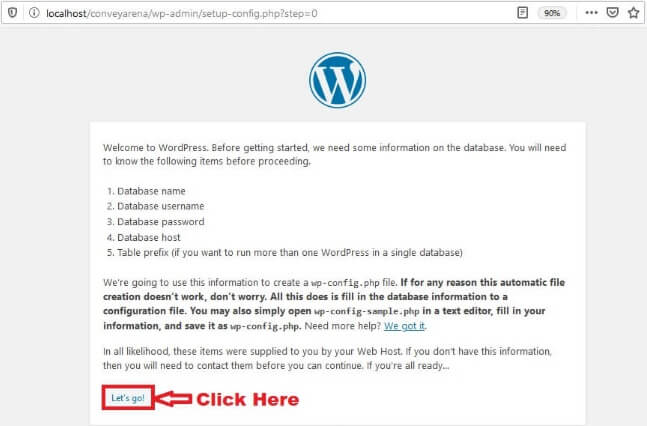
8). After creating the database go to Mozilla Firefox, type localhost/YourWebsiteName in the address bar of the browser and hit enter. The below page will be displayed. Click on the Continue button
9). Now Click on the Let’s Go button.
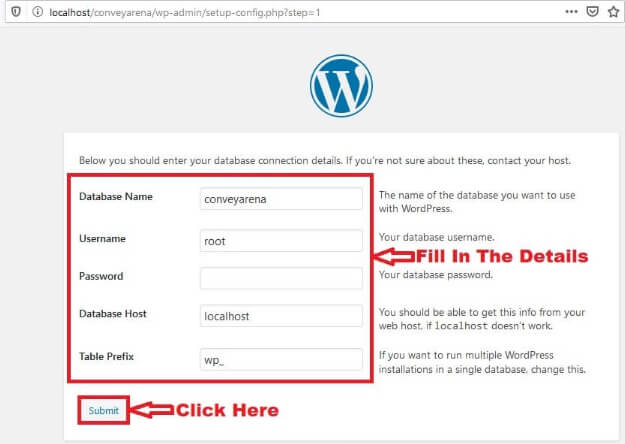
10). Fill in the detail on the below screen. You can enter the database name that you have given to your database, while creating it. I have simply put it as conveyarena, since I created a database named conveyarena. Username is root by default and the leave the Password field blank. Also leave the next two fields i.e. Database Host and Table Prefix as it is. Click the Submit button.
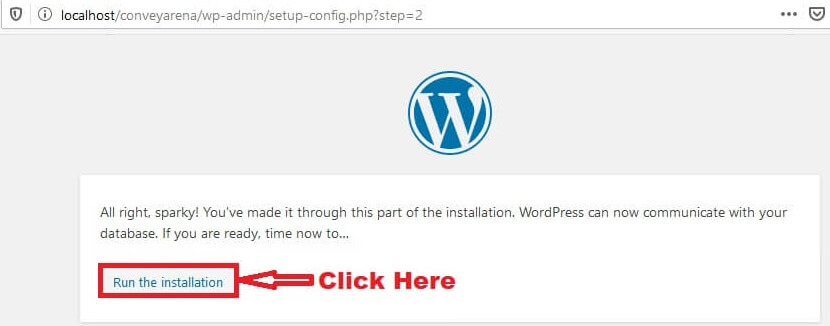
11). Now Click on Run the installation button.
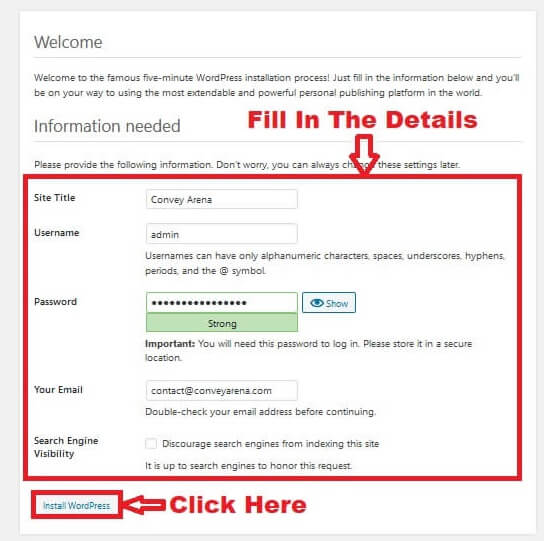
12). On the screen below fill in your website details like Site Title, Username, Password, Email Id and Click Install WordPress button and DO NOT select the check box for Discourage the search engines from indexing the site. Remember you are now filling in details for your website log in and not database server.
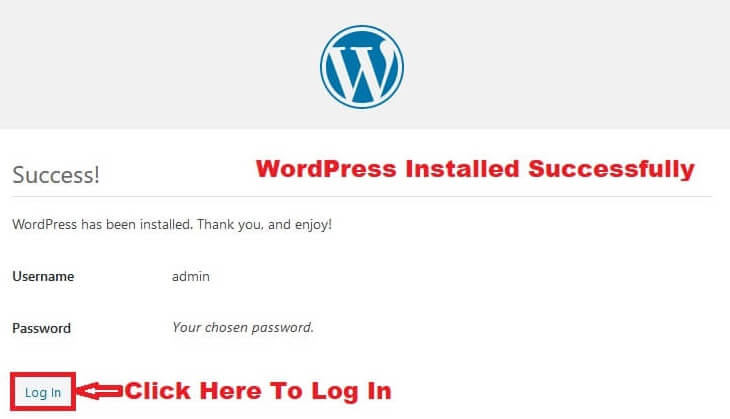
13). WordPress would be successfully installed. Click on the Log In button on the below page to Log In to your website.
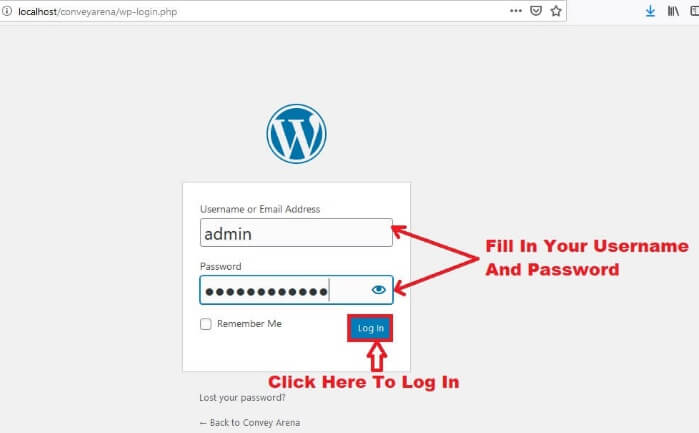
14). Now just, fill the Username and Password and Log In.
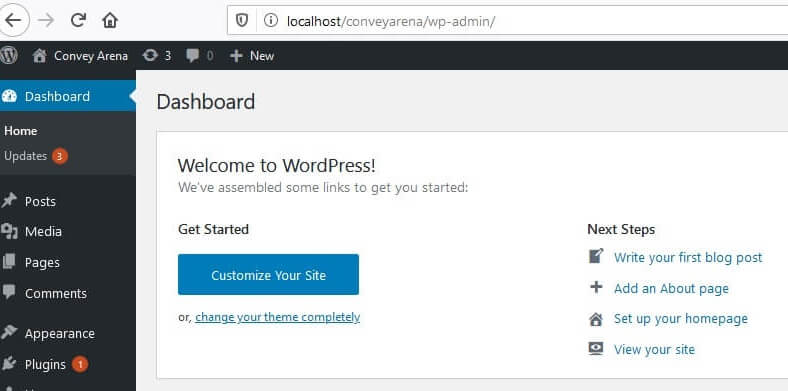
15). After logging into your website you will be redirected to the Dashboard, where you can make changes to your website like adding Menu Items, installing Plug-Ins, changing Themes etc. The Dashboard is the admin part of your website, also know as the back end.
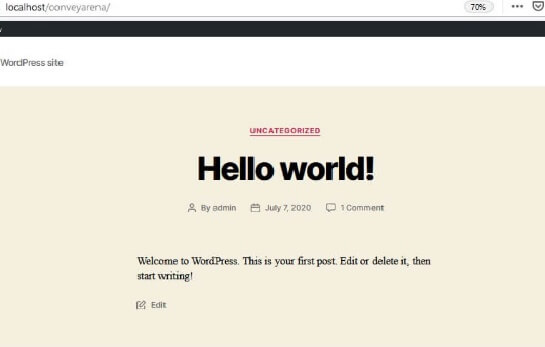
16). The front end of you website will look something like below screen. The theme visible is the default theme provided by WordPress. You can change it later.
All set and done. Now, if you want, you can make changes to the website as per your specifications.
Conclusion
WordPress & WampServer both together create a development framework where anyone can make their website or blog the way they want to make it.